
The ultimate home staging checklist to get your house sold
So, you have decided to put your home on the market and want to get the most out of the sale of your property. Then this ultimate home staging checklist is just what you need!
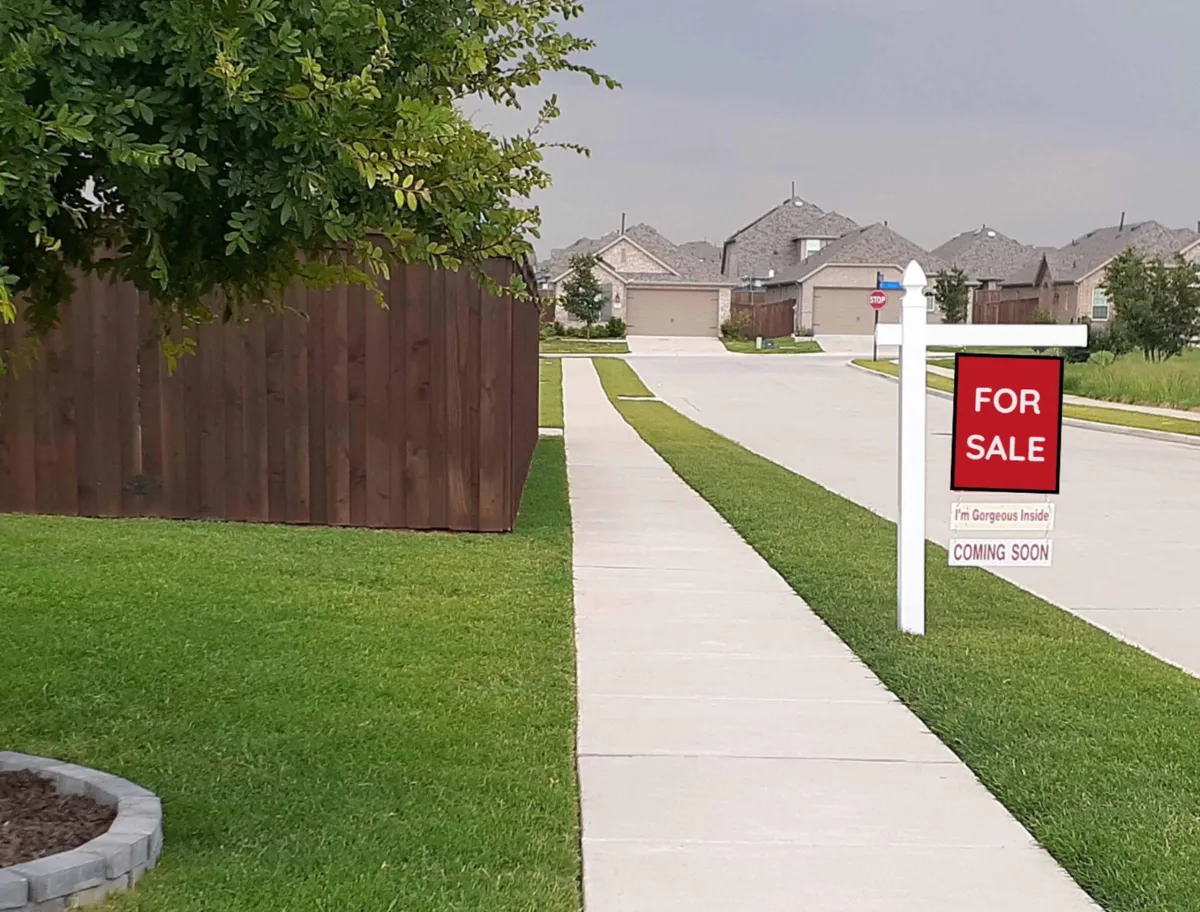
If you want to make your house appealing and have buyers eager to place that high offer, then keep on reading! In part 1 of this two-part series, we covered suggested changes, repairs, and maintenance to prepare your home. As mentioned previously the cost of having your home professionally staged varies. It depends on its size and condition, as well as where it is located. It may be as low as $1+ K or between 1 to 1.2% of the list price. Home staging is, however, a worthwhile investment. You may see a return of over 7%, which means more money in your pocket afterward.
Stage your home on your own by using a Home Staging Checklist
You may opt out of professional staging and choose to do it yourself. In this case remember that preparing a home for showings takes time, effort, and possibly some money.
While going through my suggested Home Staging Checklist process, you may feel inconvenienced. But not addressing the steps I described in my first article and here, can make a difference between selling your home within days for top dollar vs sitting on the market for months and getting lowball offers. That is the power of staging a home!
When you stage your home to sell, you are helping prospective buyers imagine how they can use the space and how they can live there comfortably.
To enhance that sense of enjoyment inside those 4 walls, we need to focus on what I like to call the “beautification” process. This covers the things that will help you style your home and accentuate its attributes, making it stand out in the minds of prospective buyers.
So, read on to learn the 7 steps of “beautifying” your home and making it super appealing to house hunters.
The 7 steps of a home staging checklist
Home staging checklist step 1: Keep it neutral but with a twist
In part 1 we discussed the importance of limiting your furnishing to the essential pieces that will define the use of each room. By editing your furniture, you make your rooms look more spacious.
When you go through the home staging checklist, the goal is to work with the style of your home, its features, and your furniture to make it attract as many people as possible.
To achieve this, it is best to keep things fairly neutral but also include some colored accents, so it doesn’t look too bare and unwelcoming.
Don’t be afraid of using complementary muted paint colors to accentuate key design features and define areas within a space. This gives the space a “designer look” and is an easy thing to change if the buyer prefers a different color.

Photo by At Home With Dia ©
This home’s overall color is a light gray but one of the dining walls, the fireplace, and the kitchen island and nook were painted a neutral complementary accent color (Behr Marquee Peppery MQ2-62). This ties in the color of the floor, fireplace stone, and kitchen counter for a cohesive look. This taupe-brown accent color warms up the space and breaks up the gray color scheme. It also draws attention to the different zones within the open-plan layout providing a welcoming feeling to prospective buyers.
Home staging checklist step 2: Accessorize your space in a refined way
As mentioned above when you are staging your home you are trying to appeal to as many different people as possible. So, the key here is to “neutralize and depersonalize” your rooms.
Remove any signage and personal photos and keep just a few decorative pieces that can be dispersed here and there to add dimension and interest to each area.

Photo by At Home With Dia ©
Some of the homeowner’s furniture was removed and others were rearranged to make the space look more open. Dark draperies were replaced with sheer curtains to bring attention to the large windows without blocking natural light. Accessories were styled in a way that kept the eye flowing from one area to the other. Notice that each surface has a small selection of items in similar colors grouped to create little styling vignettes. The taupe-brown velvet pillows were a new purchase to help bring some warmth to the seating arrangement but also to match the accent wall color, the fireplace stone, and the island for a unified look.
Step 2 tip 1: Use accessories to enhance your spaces.
When you stage a home, don’t empty your home too much. There needs to be a balance of just enough furniture, wall décor, and accessories to give it some personality and a homey welcoming sense.
A good approach is to collect all your current accessories from all rooms and place them on a large flat surface. Then group them according to color.
Next, start the process of setting up and accessorizing one room at a time.

Photo by At Home with Dia ©
The homeowner had a lovely turquoise colored bedspread so pillows and accessories were chosen to match for a pulled-together and cohesive look.
Re-arrange furniture in a way that makes the room look more spacious, and then pick out 1 or 3 neutral or colored accessories that match other things in the room.
Use these items to decorate surfaces within the room that need “a little something”.
While you are going through your home staging checklist remember, less is more, so keep in mind that you don’t need to decorate every single surface in the room.

Photos by At Home With Dia ©
Decorate in odd numbers and keep it simple. For example, 3 items, a lamp, a small plant, and a candle make a nice combination on the table next to the reading chair.

Photos by At Home With Dia ©
3 simple candlesticks on a fabric runner were just the right amount of décor on the table.
Step 2, Tip 2: Use wall décor and artwork to bring a sense of style to blank walls
Wall décor should be limited to just enough to help enhance your space.
You want the buyers to focus on the general look of your space and not be distracted by an array of things hanging on the walls. When in doubt, place a large mirror on the wall to either reflect a window or a view of your overall space.

Photo by At Home With Dia ©
A trio of large canvas art adds interest to the entry while the slim bench gives the buyers an idea of how they can use this area. The homeowner originally had the console and mirror directly as you entered the house, making the area feel a bit cramped. By moving the console to the opposite wall and further into the long hallway, the area looks more open and helps draw the eye into the rest of the space.
Of course, if you have a gallery of family photos nicely framed on a wall that would otherwise look too bare without them, then keep the frames on the wall and just print a few “generic” images to cover the photos.

Photo by At Home With Dia ©
Replace personal photos with images of landscapes or botanicals. It can be as simple as finding free images online and printing them on regular copy paper.
Home Staging Checklist Step 3: Bring in light and illuminate each space
When staging a home it is important to illuminate the rooms as much as possible. This can be achieved in two ways.
Step 3, Tip 1: Use windows to your advantage
If you have blinds on your windows pull them all the way up when you are showing your house to buyers to let in as much natural light. If however, your windows face the neighbors, a fence, or a not-so-pleasant view, then still pull the blinds up but hang sheer curtains that can let in light but screen the not-so-good-looking view. 😉

Photo by At Home With Dia ©
In this room, the window faces a wood fence. The off-white sheer curtains let in plenty of natural light but camouflage the view to the outside. Sheer dark draperies frame the window and complement the accent pillows and overall color scheme of the room.
When you are going through the recommended home staging checklist pay extra attention to what you see out of your windows. If the view is nice and your drapes are already a light neutral color then pull them open during showings, so they stack on either side of the window. This not only lets in natural light but also brings attention to the outside of your home.
Ideally, dark or dated curtains should be replaced with light-filtering drapes to update the look of your home and maximize natural light. You can find very affordable linen-look drapes from Amazon that complement any décor style. You can choose to take them with you after your current property has sold or offer to leave them for the buyer at an extra cost – more on that later on.
When privacy is an issue, or if blackout drapes are a necessity, keep them wide open while buyers are touring your home.
Step 3 Tip 2: Use artificial lighting for a brighter feel
In addition to maximizing natural light from windows, you should also have 2 or 3 artificial light sources in each room. These could be your general overhead lighting, plus a table and/or floor lamp.
The fixtures’ light bulbs should be all the same temperature. This means the same “Kelvin” throughout. A “warm white” temperature of 3000 Kelvin is ideal because it gives off a very welcoming cozy light. It is a good natural light temperature without it being too yellowish or too blueish.

When the day comes to start showing your home to prospective buyers, remember to open up all the window coverings and turn on all the light fixtures, lamps, during buyers tours. This will make your space look bright, fresh, and welcoming.
While we are on the topic of making your space look fresh, let’s discuss something that will bring your space to life.
Home Staging Checklist Step 4: Decorate with nature and emphasize outdoor space
When you stage a home, it is important to include nature in your styling.

Photo by At Home With Dia ©
In this open-plan layout, a combination of artificial and live plants ‒ strategically placed throughout the space ‒ soften all the hard surfaces, bringing an added layer of texture and life to the space.
Step 4, Tip 1: Add some greenery and life to your space
As you go over the different steps of the suggested home staging checklist, keep in mind that each room should include live or artificial green foliage and plants. Adding greenery here and there throughout the space adds interest and enhances the overall welcoming feeling of each room.
If you are not sure what is the best way to use plants in your décor, then check out my article on how to decorate with plants for ideas and tips.
And while we are on the topic of plants and nature, don’t forget the outside.
Step 4, Tip 2: Decorate the outside of your home to evoke outdoor enjoyment
When you stage a home you need to use every square foot of indoor and outdoor space to your advantage.
If your property has a garden or a backyard, highlight this feature by setting it up so it looks inviting. It doesn’t have to be anything elaborate. Just show buyers how they can use that space.

Photo by At Home With Dia ©
This space is visible from the living room, so patio furniture is in the same color palette as the inside which gives a cohesive look to this home. All the seating is arranged in a way that emphasizes the fact that there is plenty of room to enjoy the outdoors while grilling, lounging, or having your morning coffee a la fresco. The accent pillows and colored plant pot provide a punch of color while the outdoor rug makes the space feel cozy.
Even if you don’t have a large patio, make sure that any outdoor space you do have is highlighted.

Photo by At Home With Dia ©
This is a perfect example of how a small patio was set up to show it can easily accommodate outdoor enjoyment.
Don’t underestimate the power of helping prospective buyers visualize how they can use all the spaces your property has to offer!
Help them see that they can sit there on a nice day enjoying the fresh breeze and the sound of birds while sipping a cold lemonade or beer!
By now you are getting close to being ready to show off all your hard work and your “beautified” home. But there are just a few more things to do before you can shout: “Showtime”!
Home Staging Checklist Step 5: Toot your horn and let it be known
Your real estate agent will include a list of home details in the MLS listing, but it is also a good idea to bring special attention to certain key benefits that your property has to offer.
This is especially important if you have an open house and people just happen to come by without seeing the MLS listing.
Step 5, Tip 1: List upgrades and special features

Photo by At Home With Dia ©
It is crucial that you set your home apart by pointing out and bringing attention to any improvements or extra features.
Part of your home staging checklist should include a printed list of “enhancements” in large font. Place it in an area where people will notice it and give it an elegant presentation by putting it in a nice frame that can sit on an entry console or kitchen counter to draw attention.
Upgrades and special elements or designer touches equal better value for the buyer’s money and can be the decisive factor in them choosing your home instead of a similar home that is down the street.
Such items can include, but are not limited to:
New paint throughout
Custom moldings
Fully renovated kitchen or just new countertops, backsplash, sink & faucet
New stainless steel kitchen appliances
Upgraded cabinet & door hardware
Soft-close cabinets
Under cabinet lighting
Remodeled or upgraded bathroom/s
Patio hardscape, landscaping, automatic irrigation
Full-house water filtration system
Drinking water purification system
Tankless water heater
Security System
Solar panels
You can even put a heading on your list that says something like: “$45 K of upgrades include:”. This emphasizes the value of all the bonus items they will get if they choose to buy your home.
You get the idea. If you got it, show it off!
And while we are on the subject of lists, let’s address another one:
Step 5, Tip 2: List items you are willing to sell in addition to the house.
When selling your home you usually include items like the stove, oven, dishwasher, light fixtures, window blinds, and sometimes even curtain rods. The rule of thumb is that if an item is hardwired, screwed into the walls, or built in, then it normally stays with the house.
However, your property may have things that buyers would like you to leave with the house so that they can use them when they move in.
This can sometimes work to your advantage because you may not want to move certain things to your new home. This is often the case if you want a fresh start or you are moving out of state.
Maybe you would prefer to leave the refrigerator, washer, dryer, curtains, some furniture, or even that wall-mounted TV, that you were planning to upgrade anyway.
Be willing to let go
So, when you are going through your home staging checklist take note of things you are willing to part with. Make a list that includes a brief description of each item, the estimated original cost, and subsequent discounted sale price.
I’ve had several occasions when buyers loved the way the house looked so much that they offered to buy everything including furniture, draperies, décor, wall art, and even the decorative bedding and accessories! That is truly the power of home staging.
Home staging checklist step 6: Prepare for showings

While going through your home staging checklist, you have already done a thorough cleaning of your home, but things will need to be freshened up and set up in a certain way, so they look their best during “open house” and showings.
This phase of the home staging process is what I refer to as “clear, cleanse and refresh”.
Right before showings, you will need to tidy up rooms that may look “lived-in”, temporarily remove some last-minute items, and wipe down surfaces.

Photo by At Home With Dia ©
Step 6, Tip 1: Prepare and spruce up the kitchen so it looks its best
Clear kitchen counters of any random items that may have migrated there and check that your stove top is clean. Remember the fewer things you have on your counters, the more usable prep space buyers will see.
Give your kitchen sink and faucet a good cleaning and then polish them so they sparkle.
Wipe down any hard surfaces and make sure there are no fingerprints on appliances.
That should take care of freshening up the most hardworking room in your house.
Another space that is equally hard working and needs to look clean and shiny is the bathroom.
Step 6, Tip: 2 Freshen up the bathroom and give it some style
When you are staging your home your mission is to make everything look as fresh and clean as possible.
Even though you thoroughly cleaned your home, you will need to regularly give it a quick refresh and cleaning to make sure that everything is “sparkling” clean each time you have a showing.

Photos by At Home With Dia ©
Also, part of your home staging checklist is to wash your shower liner and curtain. Iron out any wrinkles for a crisp look.
Pro tip: Make a small bathroom look bigger by pulling the shower curtain to one side so the shower or tub surround is visible.
During showings, it is best to remove or put away all personal hygiene items. These include soaps, shampoos, lotions, sponges, etc. from all surfaces. And while you are at it, remove bath towels, robes and mats too. Remember to always put the toilet seat cover down before buyers arrive. We all know the toilet bowl is not an attractive sight!
These are some of the things you must relocate temporarily when you have an open house or showing. More on that further down.
Get a plastic tub with handles to place items you need to remove from the house. You can easily pack and transport that plastic container in and out of your car when you have “buyer tours”.

Photo by At Home With Dia ©
This bathroom is next to the turquoise bedroom we saw earlier. For a cohesive look, we used an inexpensive art canvas, “decorative” towels, and accessories in the same color.
A little decor goes a long way in a bathroom
The home staging checklist includes adding some interest and panache to the bathrooms. Even the most blah-looking and small bathroom can be made to look stylish. This room is normally very utilitarian looking with a lot of hard surfaces. A simple fabric shower curtain and a new or freshly laundered colored hand towel in a complementary color can soften the look.
If you don’t already have artwork in the bathroom this is an opportunity to inject some interest and contrast. As a finishing touch, some greenery and an (unlit) candle will add some elegance to the space.
When staging your home pay attention to items that need to be removed before a showing. Sorry folks, but I did mention that you will be inconvenienced. These are things you need to do to make your property “show-worthy”.
Step 6, Tip 3: Remove the “dirty” stuff

Photo by Annie Spratt on Unsplash
A home is not “show-ready” when there is trash, dirty dishes, and laundry in it.
So, as a part of the home staging checklist empty bins and remove trash from all the rooms in the house. When I say remove that means completely out and away from the premises. Do not leave trash in the garage. Bins should be sprayed and wiped down to freshen them up so there is no lingering “funky” smell.
Wash dishes and put them away so the kitchen looks tidy. Resist the temptation to shove all the dirty dishes in the dishwasher. Prospective buyers are likely to open that appliance to check its condition.
Empty storage spaces where buyers may look inside
Empty dirty laundry from hampers into large plastic bags and place them in your car.
Any smelly sneakers or sports gear? Do you have a closet or other area of your home where you normally store sports gear or sneakers? Temporarily remove them from your home and deodorize those spaces with an odor-eliminating spray.
Lastly, don’t forget to make your garage presentable. In the process of editing and packing your belongings, you have probably been storing items and boxes in there. If so, then make sure that this is done in an orderly manner. The last thing you want is house hunters seeing a cluttered avalanche when opening garage door.
You did it! You are now ready to show off all your hard work and your “beautified” home!

Home Staging Checklist Step 7: Showtime – final preparations
“Open House” day is finally here. Below is a final home staging checklist. Go through it before you walk out the door and let your real estate agent do their thing…
What to take with you?
Valuables: If you don’t have secure storage, pack valuables in an easily carried bag during home showings.
To-go bag: Pre-pack a bag with snacks, water, pet treats, and essentials for your time away.
Plastic tub used to temporarily pack and transport last-minute items you need to remove from the house.
Dirty Laundry
Trash you have collected from the house.
Kids
Pets
Toys to keep kids and pets entertained.
Cat litter
Pet bedding
What to pick up?
If you have doggies, check your yard and pick up any “smelly presents” they may have left 😉.
Do a final walk-through
Go from room to room to check that everything is as it should be and adjust accordingly. Turn on all the lights, pull your curtains wide open, and the blinds up all the way.
Mission Accomplished!
Yay! You did it! You have put in the time and effort needed to optimize and highlight all that your lovely home has to offer.
Now you can take a big sigh of relief and go enjoy your day while your real estate agent gets to show off all your hard work and beautiful property.
The agent is probably thinking to themselves that you have made their job a whole lot easier and soon will be busy reviewing buyers’ offers to present to you.
Very soon you will be reaping all the benefits of going through and ticking each item off your home staging checklist!
Oh, by the way… that means your next task will be to start packing to move out 😉.
If you're currently planning your next home decorating project, these additional resources may help inspire your space:
